Recording virtual lessons is a helpful way to review material, catch up on missed classes, and study at your own pace. Whether you’re a student, teacher, or parent, knowing how to record virtual lessons safely and effectively can make learning easier and more flexible.
Here’s a simple guide to get you started.
Choose the Right Platform
Many video conferencing tools offer built-in recording features. Some popular platforms include:
-
Zoom: Allows hosts to record meetings locally or to the cloud.
-
Google Meet: Recording is available for certain account types, like Google Workspace for Education.
-
Microsoft Teams: Hosts can record meetings, and recordings are saved to Microsoft Stream.
-
Cisco Webex: Provides recording options for meetings and training sessions.
Check if your platform supports recording and learn how to access that feature.
Get Permission
Before recording, it’s important to get permission from your teacher, classmates, or meeting participants. Recording without consent may violate privacy rules or platform policies. Always be respectful and transparent about why you want to record.
Prepare Your Device
Make sure your computer or device has enough storage space to save recordings. Close unnecessary applications to improve performance during the recording session. Use a stable internet connection to avoid interruptions.
Start and Stop Recording
When it’s time to record, look for the “Record” button in your virtual classroom’s controls. Click it at the start of the lesson and remember to stop recording when the session ends. Some platforms notify participants that recording has started to maintain transparency.
Organize and Share Your Recordings
After recording, save your files in an easy-to-find location. Consider naming them with the date and subject for quick reference. If you plan to share recordings with others, use secure methods like password-protected cloud folders or approved school platforms.
Use Recordings Responsibly
Recordings are a great tool for study and review but should not be shared publicly without permission. Respect the privacy of everyone involved and use recordings only for educational purposes.
Additional Tips
-
Test the recording feature before an important lesson to ensure it works smoothly.
-
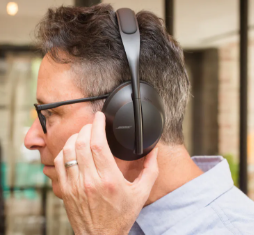
Use headphones with a microphone to improve audio quality.
-
If available, record both video and audio to capture visual aids and explanations.
Final Thoughts
Recording virtual lessons can enhance your learning experience by allowing you to revisit important information anytime. By choosing the right tools, respecting privacy, and organizing your recordings well, you can make the most of this useful feature.


